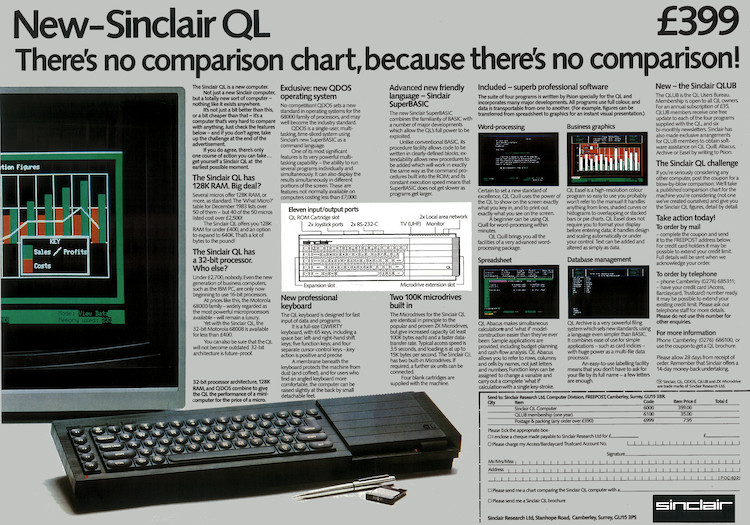
In 1984 Sir Clive Sinclair announced the QL as his answer to a “business computer”, costing £399, and the year later ACT released their follow-up to the Apricot PC, the F1, in a stylish new slim design with such innovations as wireless (infra red) keyboard and mouse (actually a track ball), costing around £3000.
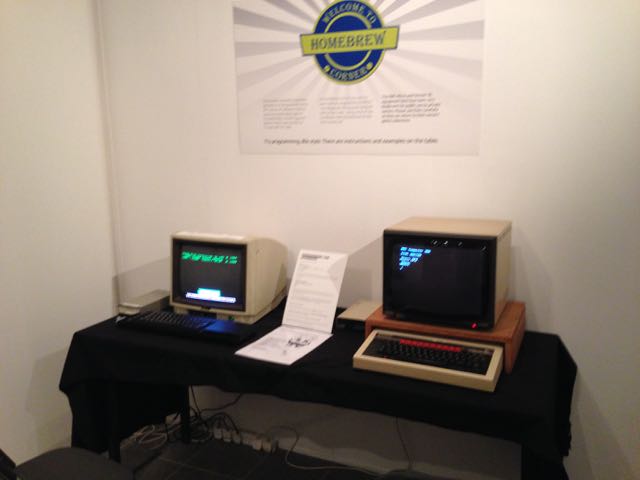
Seeing as I’ve been rebuilding an Apricot F1 and I have a couple of QLs I thought I’d give a comparison review of the two machines side by side.


Well, back in 1984 when the Sinclair QL came out, to put it mildly, everyone poured scorn on the machine as a “business” computer. After all, where were the floppy drives? Did it run Lotus 1-2-3? Of course, the price played very little into this discussion as all the “business” machines were many multiples of the cost of a base QL. Having played with its direct(?) competition I think I can make a better comparison. (I’ll cut to the chase, in terms of speed and convenience, the QL wins, but with some pretty important gotchas.)
1. The Sinclair QL
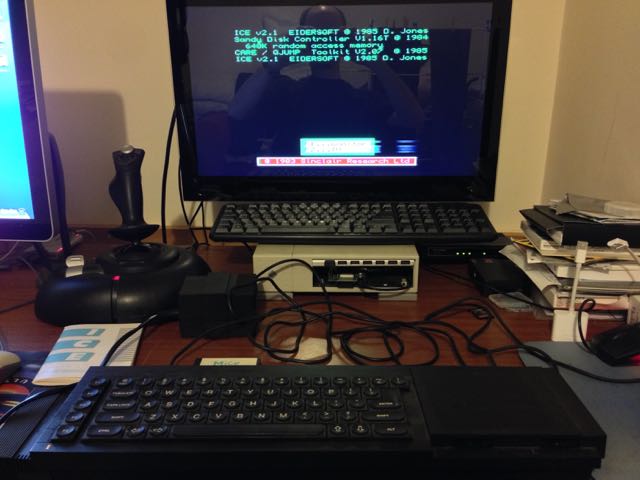
The QL comes out of the box with 128K of RAM, two 100K Microdrive drives and the set of pretty decent office applications from Psion, including word processor and spreadsheet. If you want to add a monitor that costs you extra, adding a couple of hundred pounds to the cost, then add the printer for another £100. So, for a working “business” system you’re probably looking at £700-ish in 1985.
In terms of convenience, you plug it all in, switch it on and you have a working system. You probably want to buy a set of Microdrive cartridges which I seem to remember retailed at about £5 each and then make working copies of the Psion Exchange suite.
Popping an application cart into the first drive and a file cart into the second drive, resetting and hitting F2 to boot would bring you to the Quill word processor in about a minute.
In terms of speed, the text update is slow relative to IBM PC-XT clones of the day due to the bitmapped graphics, but they were well out of the price range costing many thousands of pounds. However, for a word processor the screen update was adequate and Quill was definitely up there with the early versions of Wordperfect etc. in terms of functionality.
With respect to the much maligned Microdrives, they were slow to “seek” to find a file but could be surprisingly fast to load one if the data was contiguous on the tape as the transfer rate is technically higher than that of standard double-density floppy drives.
The biggest down side of the QL, however, is that it doesn’t have a separate keyboard. With everything being in the same unit it makes ergonomics poor as it’s difficult to move the unit to a comfortable position. Not that ergonomics was really a thing back then. The keyboard itself wasn’t brilliant to type on either. It’s an early iteration of the plunger and membrane keyboards most systems use today but it’s just clunky. The lack of a dedicated delete key is another large omission.
Expansion of the machine was possible with, by the time of 1985, both memory upgrades and floppy disk interfaces available. However, they added to the cost and the number of cables attached to the keyboard making ergonomics even worse.
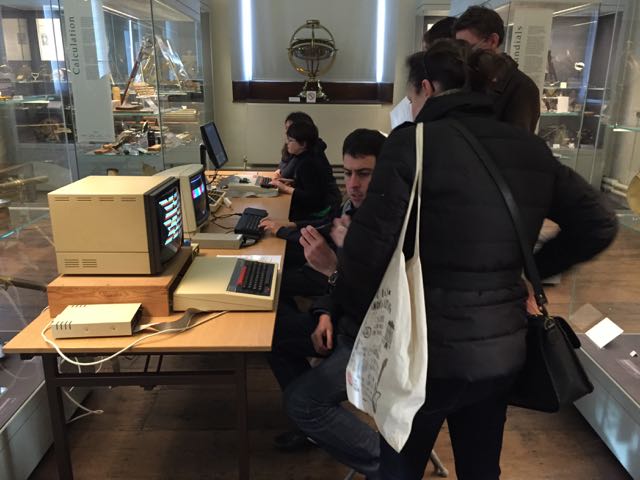
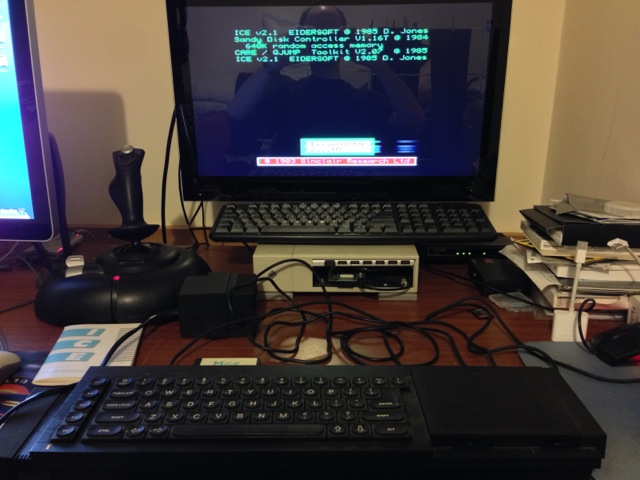
2. The ACT Apricot F1
The F1 was a follow up to the Apricot PC, which was a boxy luggable desktop machine. The new F1, had a stylish clean, new design and, unlike its sibling, a single 3.5″ double density floppy disk drive built in. It also had an innovative (but ultimately problematical) infra red wireless keyboard. Again like its sibling the time of day clock was held in the keyboard and not in the main unit, so to set it you had to hit a key after each reboot.
The F1’s keyboard keys actually looked very similar to the Sinclair QL’s, being a flat square with a raised circle. Apparently this keyboard didn’t have a great feel to it either, being replaced with the version with more normal key caps and a better mechanism for the later F2 and F10 models.
The Apricot machines were based upon an Intel 8086 processor clocked at the same speed as the 8088 in the IBM PC-XT. It would have been expected therefore that they would run more quickly due to the data and address buses not being multiplexed 8 bit ones but this is not the case as memory accesses were interleaved with the video circuitry slowing the whole system down to the same speed.
Although the Apricots did run MSDOS (2.11) they were not at all IBM PC-XT compatible. Any software which didn’t use standard MSDOS calls only wouldn’t work and the screen display access was completely different so applications would have to be specially ported to the platform. Later ACT did create a compatibility shim application which added at least MDA/CGA display access via software emulation but it was very slow.
To do any graphics you have to load the Digital Research GSX graphics subsystem and use call to this, if you wanted your application to run on all the Apricot machines, as the graphics hardware on each was very different.
So, what did you get for your £3000 F1 system? Basically, you got the machine, a wireless keyboard and MSDOS 2.11 with the “Activity” graphical user interface. The machine had a composite video out port as standard, along with the proprietary 9 pin RGBI port. If you wanted a monitor then at was a couple of hundred pounds extra for the 9″ monochrome display and a lot more for the 12″ colour one. If you wanted applications then they were extra, a couple of hundred pounds extra for each. There was a native port of Wordstar for your word processing needs and a spreadsheet, which I’ve not found as a floppy image on the ‘Net.
So, what was the user experience like?
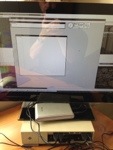
Well, when you powered the unit on (with a power switch, something the QL lacks!) it comes to the “BIOS” screen which is quite nice. You then have to hit the “TIME/DATE” key on the keyboard and put the OS floppy into the machine. The machine will then (slowly) boot MSDOS and bring you into the “Activity” GUI, which you have to navigate using the number keypad (You didn’t pay that extra £100 quid or so for the “mouse” trackball which isn’t used by anything did you?). Ejecting the OS floppy and then putting the application floppy into the machine will allow you to start the word processor. Yes, there’s lots of disk juggling going on due to the single drive.
So, after about 5 minutes you will probably be into your application.
The screen display update speed is very similar to that of the QL as there’s no hardware acceleration other than scrolling. The graphics capability of the machine is actually almost identical to that of the QL.
With the base system only coming with 256K of RAM and the OS being in RAM as well the working memory is actually less than the base 128K QL.
As for expandability, there is a slot internally for upgrades and another on the side. There was a 10MB “Winchester disk” external unit which would probably cost you almost as much as the machine in 1985. There was no option to add an external floppy drive, though the hardware is capable and it would have only meant them adding a header on the motherboard as the clip-out panel in the case was there ready. Even with a two floppy drives MSDOS is painful to use though.
3. Conclusion.
Well, to be honest it’s six of one and half dozen of the other actually. In terms of speed the 7.5MHz 68008 in the QL, hampered by its multiplexed 8 bit bus, is about the same as that of the Apricot with its 4.7MHz 8086 in use. The single floppy drive is a major problem when using the machine and it “feels” slower than the Microdrives not because of the data rate (600rpm drives make the data rate far higher) or the latency, which is far less, but because all accesses are in the foreground and you have to swap disks so much more often. It makes even copying a file from one floppy to another a major task with four disk swaps per file. In this way the F1 is far less usable.
However, the separate keyboard, irrespective of the problems with the wireless nature, is far better than the “all built into the keyboard” form factor of the QL.
Anyway, if the purchase price wasn’t a decider, given my experience operating the two machines today I find the experience with the base QL far superior and I would have preferred to use that.
The Apricot F Series with more memory, hard disk and the later release of the GEM graphical front end does make the machines a world better, but Apricot (rebranded from ACT in 1986) soon dropped them in favour of PC compatibility, and a price hike, and the innovative British business PC era came to an end.