Quite soon after the purchase of my telescope last August I determined that the time and effort it took to deploy the ‘scope and set it up meant that most clear evenings weren’t going to be able to be utilised. Almost as soon as I’d got it all ready it was time to pack things away again, or the clouds had rolled in. I needed a fixed observatory which would allow me to start observing quickly.
After doing research on the ‘net, in early October I finally plumped for a 6ft x 6ft rolling roof shed from Alexander’s Observatories and sent an e-mail asking for a quotation. At the same time I did the same for the patio base foundation from a local landscape gardening firm, N.V.Firmin. Little did I know how long both of these stages of the project would take. In fact, I imagined that there could be a possibility of having it functional by Christmas.
Well, at least the landscape gardening firm got back to me quickly. However, after getting the quote I was a little disappointed to learn that the start date for the works would be after Christmas sometime. Still, having not heard anything from the observatory company I wasn’t too worried about the delay.
Time ticked ever onward and October became November and November became December. Finally, over two months after my initial contact, I got a reply from the observatory company. To be honest I was expecting never to hear anything at all at this point and was starting to look at alternatives. Still, the quote was good so I gave the go-ahead and sent the deposit, which was cashed on Christmas Eve.
Everything went quiet for a few weeks and it wasn’t until the end of January that I heard from the landscape gardening company. Typically they wanted to install my patio and fencing the weekend I was away down in Cornwall for my and my Dad’s birthday. (Don’t you love the way life works that way?). Anyway, they started work the day before I left so I was able to survey their markings on the lawn after I got home (in the dark) and made amendments. For good measure I drew a sketch plan and taped it to the inside of my patio doors. I was very glad to discover after my return that everything was in order and a very nice job had been made.

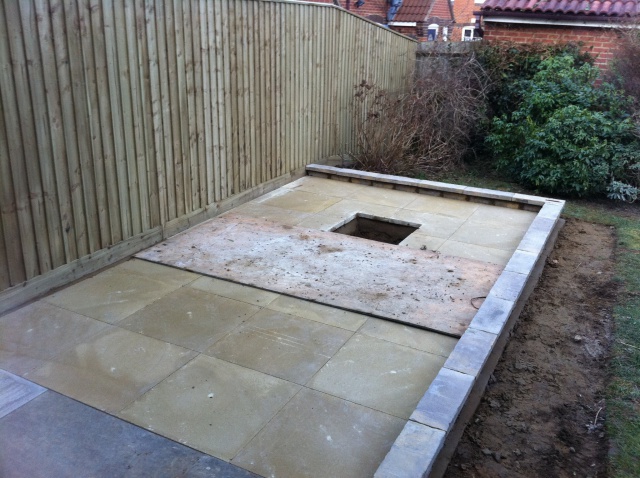
Early February: The patio is almost complete. (The hole is for the pedestal foundation.)
At this point I had assumed that the observatory company’s quote of 8 to 12 weeks for delivery was still on track and that soon I’d get the template for the pedestal base foundation. However, I’d not heard anything since before Christmas, so I sent an e-mail informing the company that the base was ready and could I please have the template…
Another month passed and I was about to send another e-mail when out of the blue the template appeared. It was now 10 weeks after I’d paid my deposit and was getting a little concerned that I hadn’t heard anything more.
A couple of weeks later I sent off another e-mail and was surprised to get a reply back within three days informing me that work on my build would be starting in a couple of weeks and the delay was caused by a number of large observatories in the queue before mine. This, I assumed, meant that the timer for the delivery of my unit would then start, i.e. it would be 8-12 weeks from that point. I was not that happy.
You an imagine then the pleasant surprise I got when just a couple of weeks later I received a text message asking if it was OK to deliver the shed the following Thursday. Of course I said yes!
So, after months the day of the observatory arrived… 7th April, 2011.
Nick duly arrived at 8:30am, not long after his ETA and surprising seeing as he had driven directly from Norfolk, and he started right away… with the help of the first coffee of the day.
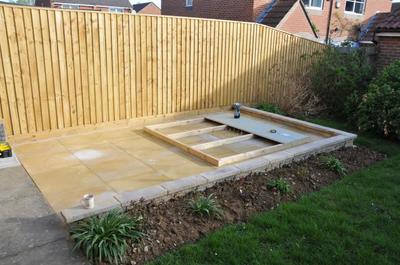
8:35am: The base goes down. (Note the first coffee of the day.)

Due the relatively small size of the observatory Nick was able to prefabricate most of the parts and carry them all complete in his van, so in came the base and quickly the chipboard floor panels went down, cutting a hole for the pedestal.
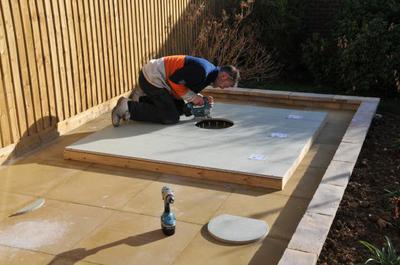
8:47am: Base complete, pedestal hole cut.

It didn’t then take very long until the walls came in one at a time, they were lined with single ply and the observatory started to take shape.
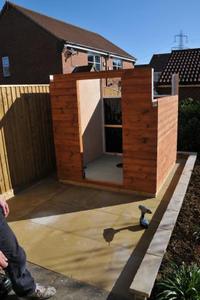
9:48am: The walls are up.

Nick at this point was on his third mug of coffee, along with biscuits. It’s thirsty work, especially when it’s the hottest day of the year so far and the area’s a bit of a Sun trap.
The next part of the build was to install the supports for the roof rails and the rails themselves. Basically, the supports are just 75mm fence posts. The horizontals slot into recesses in the walls and are supported by other posts at the most distal end from the shed.
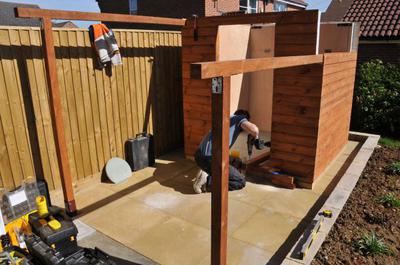
11:18am: The roof rail supports are being fitted.

Once these were complete and the aluminium tracks installed it was time to install the roof. The main wood lattice structure was delivered as a single unit. Onto this was screwed the part of the southern side of the shed which slides with it before, finally, the wheels were installed. The whole thing was then lifted by the both of us onto the shed.
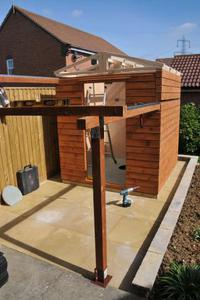
12:15pm: The roof structure is on.

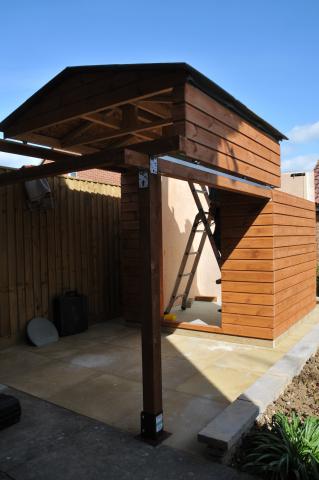
The roof was now fitted with chipboard sheets which were then covered with roofing felt before more shuttering was installed at the gable ends. The project was starting to look almost complete. More coffee helped… And most importantly, the roof rolled.

2:05pm: The roof rolls for the first time.
From this point on things slowed down a little as it was all about installing the final details such as the door, the roof locks. Once these were done it was time to bolt down the pedestal.
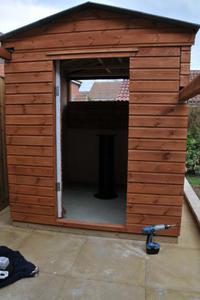
3:10pm: The pedestal is installed. Build complete.

And so, by half-past three the installation job was complete and Nick was on his way back to Norfolk.
I spent the rest of the afternoon and evening setting up my telescope for the first time in its new home. I had to rotate the pedestal by one bolt hole so that it was closer to being aligned north-south and then level its top.
Although the basic structure was now complete there was still no power in there and most importantly the strut which joined the two rail supports together was rather inconveniently at nose height. This would be rather tricky to navigate in the dark so I needed to raise it above head height. Also, I wasn’t happy with having the chipboard floor exposed to the weather and so I decided to clad the base with some wood cladding. Another inconvenient problem was that the eastern folding panel was too close to the ‘scope and hence couldn’t be folded down.
All these problems were fixed the following weekend. I used a sledgehammer and a block of wood to ease the whole observatory 5cm away from the house, relieving the folding panel problem before re-engineering the strut and bolting the legs down.
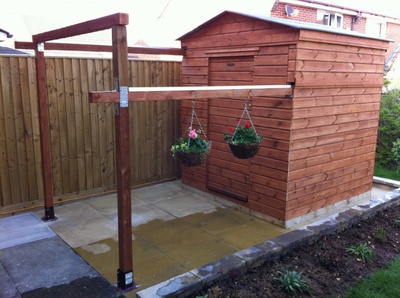
The Weekend: The finished product, well almost.

And so it’s finished… well almost. I’ve still got to paint the inside and then there’s the proper final alignment of the ‘scope mount but it’s mostly there. I certainly didn’t expect last October that the whole project would take six months to complete.
But does it meet my requirements? It would be a bit sad if it didn’t. Well, let’s say that I can now go from deciding to go out to do observation to getting the first object in the eye piece in a little over four minutes and it takes a similar amount of time to close things down again. So, yes. A definite improvement on the 40 minutes it took previously.